
Painting concrete exterior floors can transform a dull patio, porch, or driveway into a vibrant and welcoming space. It not only boosts curb appeal but also adds a protective layer against weather and daily wear. While the process requires careful attention to detail, it’s a rewarding project for any DIY enthusiast.
This guide will walk you through everything you need to know about painting concrete exterior floors. We’ll cover the benefits, potential risks, necessary tools, and a step-by-step process from preparation to final sealing. You’ll learn how to choose the right materials, troubleshoot common issues, and maintain your beautiful new finish for years to come.
Why Paint Exterior Concrete Floors?
Giving your outdoor concrete a fresh coat of paint offers several advantages beyond just aesthetics.
- Enhanced Appearance: The most obvious benefit is the visual upgrade. You can cover stains, discoloration, and imperfections with a fresh, uniform color.
- Weather Protection: A quality paint and sealer system protects the concrete from moisture, UV rays, and temperature changes, which can prevent cracking and deterioration over time.
- Easier Cleaning: Sealed, painted concrete is less porous than bare concrete, making it much easier to sweep or wash away dirt, leaves, and spills.
Painting makes sense when you want a complete color change and a durable, protective finish. If you prefer a more natural look, a concrete stain or clear sealer might be a better option.
Understanding the Risks: Moisture & Concrete
Before you pick up a roller, it’s crucial to understand concrete’s biggest enemy: moisture. Concrete is porous and can absorb water from the ground. If you trap this moisture under a layer of paint, it can cause the paint to bubble, peel, and fail prematurely.
This makes testing for moisture an essential first step.
How to Test Concrete for Moisture
The “plastic sheet test” is a simple and effective method.
- Cut a 2×2 foot square of clear plastic sheeting.
- Tape all four edges securely to the concrete surface with duct tape.
- Leave it in place for 24 hours.
- After 24 hours, peel back the plastic. If the underside of the plastic or the concrete surface is damp, you have a moisture issue that needs to be resolved before painting.
If the concrete is too damp, you may need to address drainage issues around the area or wait for a prolonged dry spell before proceeding.
Tools & Materials You’ll Need
Having the right supplies on hand makes the job go smoothly. Here’s a checklist:
- Tools:
- Pressure washer or stiff-bristled broom and hose
- Paint roller with an extension pole
- Roller covers (a 1/2″ to 3/4″ nap is good for textured concrete)
- Paintbrushes for cutting in edges
- Paint tray
- Scraper or wire brush for loose paint
- Protective gear (gloves, safety glasses)
- Materials:
- Concrete degreaser/cleaner
- Concrete patch or filler for cracks
- Concrete primer or bonding primer
- Exterior concrete paint
- Non-slip additive (optional but recommended)
- Concrete sealer/topcoat
For rough surfaces, a thicker nap roller will help push paint into all the small crevices. For smoother concrete, a shorter nap roller works well.
Surface Preparation: The Most Important Step
Proper preparation accounts for about 80% of the success of your paint job. Do not skip these steps.
- Check for Old Coatings: If the concrete has been painted or sealed before, you must remove any peeling or flaking sections with a wire brush or scraper.
- Repair Cracks and Holes: Use a concrete patch compound to fill any significant cracks or spalls. Follow the product’s instructions for application and drying time.
- Clean Thoroughly: Remove all dirt, grease, and oil. Use a concrete degreaser and scrub the surface, then use a pressure washer or a stiff broom and hose to rinse it completely. Allow the concrete to dry fully, which can take 24-48 hours.
- Etch the Surface (If Needed): Very smooth, dense concrete (like a garage floor) may need to be etched with an etching solution. This process roughens the surface slightly to help the primer and paint adhere. Most exterior patios and walkways are porous enough and do not require etching if cleaned properly.
Priming the Concrete
Primer acts as a bonding agent between the concrete and the paint, ensuring better adhesion and a longer-lasting finish.
Using a dedicated concrete bonding primer is almost always recommended, especially for bare or very porous concrete. It seals the surface, prevents the paint from soaking in too much, and helps block stains. Some modern products are “paint-and-primer-in-one,” which can work for surfaces in good condition. However, for the best results, a separate priming step is worth the effort.
Apply a thin, even coat with a roller and brush. Let it dry completely according to the manufacturer’s instructions.
Choosing the Right Paint or Coating
Standard wall paint will not work on concrete floors. You need a formula designed to withstand foot traffic and outdoor elements.
- Acrylic Latex Concrete Paint: This is the most common choice for DIYers. It’s easy to apply, cleans up with water, and is breathable, which helps release small amounts of moisture vapor.
- 1-Part Epoxy Paint: Stronger than acrylic latex, 1-part epoxies offer enhanced durability and resistance to chemicals. They are pre-mixed and apply like regular paint.
- Elastomeric Coatings: These are highly flexible, thick coatings that are excellent at bridging small hairline cracks. They provide superior waterproofing and are a great option for surfaces with minor imperfections.
- Concrete Stains: Stains penetrate the concrete rather than forming a film on top. They provide a translucent, mottled color and are very durable, as they won’t chip or peel.
For most patios and porches, a high-quality acrylic latex concrete paint is an excellent and cost-effective choice.
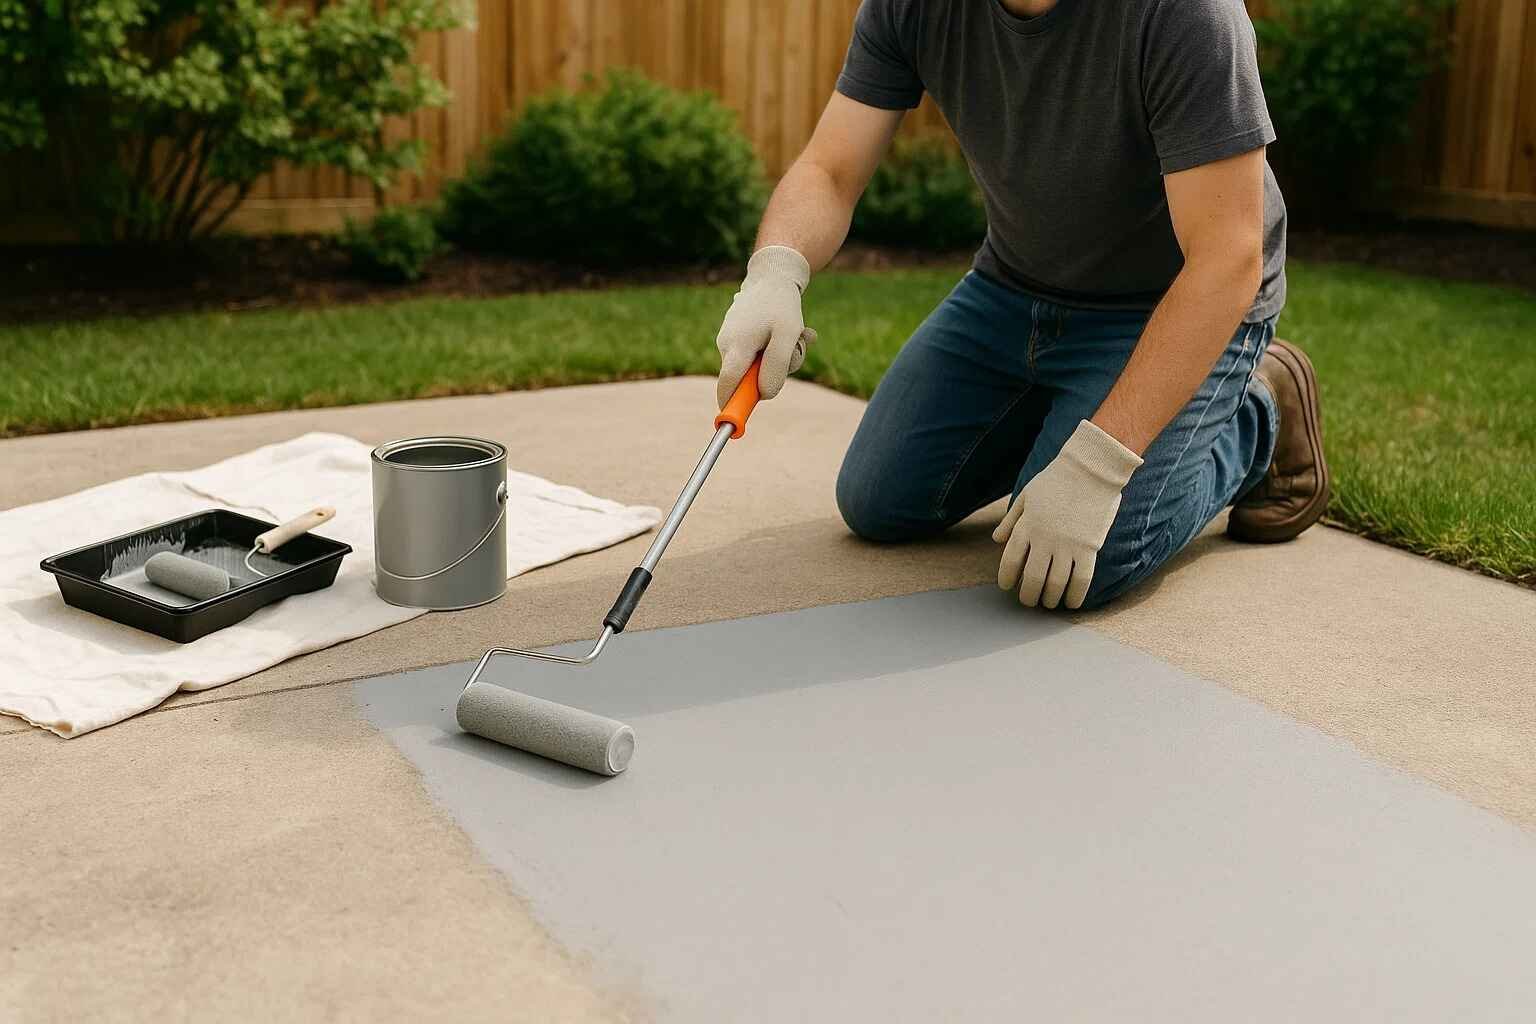
Applying the Paint
With the prep work done, it’s time for the transformation.
- Check the Weather: Plan to paint when there is no rain in the forecast for at least 48 hours and temperatures are between 50°F and 90°F.
- Add Non-Slip Additive: For safety, especially on surfaces that will get wet, mix a non-slip additive directly into your paint. This fine grit creates a textured surface that provides grip.
- Apply the First Coat: Use a brush to “cut in” the edges. Then, use a roller to apply a thin, even coat to the main surface. Work in sections and maintain a wet edge to avoid lap marks.
- Let it Dry: Allow the first coat to dry completely. Drying time varies based on the product, temperature, and humidity, so check the can for recommendations (usually 4-6 hours).
- Apply the Second Coat: A second coat is almost always necessary for full coverage and color depth. Apply it just like the first.
Sealing and Protecting the Painted Surface
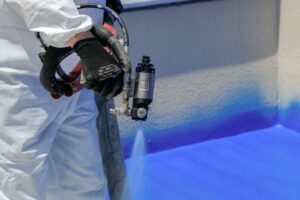
While some concrete paints are very durable on their own, applying a topcoat or sealer provides the ultimate protection. A clear sealer will protect the paint from scuffs, UV fading, and moisture.
Choose a sealer that is compatible with your paint (e.g., an acrylic sealer for acrylic paint). Apply one or two thin coats with a clean roller, allowing for adequate drying time between coats. Be sure to select a non-yellowing, UV-resistant formula for exterior use.
Curing and Maintenance
Patience is key after the final coat.
- Curing Time: The paint may be dry to the touch in a few hours, but it needs to cure fully to achieve maximum hardness. Wait at least 24-48 hours before allowing light foot traffic and up to 7 days before placing heavy furniture on it.
- Maintenance: Keep the surface clean by sweeping it regularly. For a deeper clean, use a mild detergent and water. Avoid harsh chemicals or abrasive scrubbing. Depending on traffic and weather exposure, you may need to reapply a fresh coat of sealer every 2-3 years to maintain protection.
Safety Considerations
- Weather: Avoid painting in direct, hot sunlight or high humidity, as this can cause the paint to dry too quickly or improperly.
- Slip-Resistance: The non-slip additive is a crucial safety feature for any walking surface.
- Ventilation: Although you’re outdoors, some products can have strong fumes. Ensure good air circulation.
- Protective Gear: Always wear gloves and safety glasses to protect yourself from splashes.
Troubleshooting Common Problems
- Peeling or Bubbling: This is almost always caused by moisture trapped underneath or painting on a dirty surface. The only fix is to scrape the failed paint, clean the area, test for moisture, and repaint.
- Fading: Low-quality paints can fade from UV exposure. Using a UV-resistant paint and topcoat is the best prevention.
- Slippery Surface: If you skipped the non-slip additive, you can apply another topcoat of sealer with the additive mixed in.
Design Ideas and Creative Finishes
Your painted concrete floor doesn’t have to be a single, solid color.
- Stencils: Use large stencils to create a tile-like pattern or a central medallion design.
- Two-Tone Designs: Tape off sections to create borders, stripes, or a checkerboard pattern.
- Decorative Stains: For a more organic look, consider layering different colors of concrete stain to mimic natural stone.
Cost & Budgeting
The cost of painting concrete exterior floors varies, but here’s a rough estimate:
- Primer: $30 – $50 per gallon (covers ~200-300 sq. ft.)
- Paint: $40 – $70 per gallon (covers ~200-400 sq. ft.)
- Sealer: $40 – $60 per gallon (covers ~200-300 sq. ft.)
- Tools & Supplies: $50 – $100
Per square foot, you can expect to spend approximately $1.00 – $2.50 on materials. To save money, buy materials in larger quantities if you have a big area to cover and choose quality water-based formulas, which often provide the best value.
Conclusion
Painting concrete exterior floors is a project that delivers a major impact for a modest investment of time and money. The key to a durable, beautiful finish lies in diligent preparation. By properly cleaning, repairing, and priming the surface, you create the perfect canvas. Choosing the right paint and protecting it with a sealer will ensure your patio or porch looks great and withstands the elements for years to come. With careful planning and the right materials, you can successfully complete this DIY project and enjoy your revitalized outdoor space.
Also Read:
The Ultimate Guide to Choosing the Perfect Outdoor Wall Lantern
The Ultimate Guide to Choosing the Perfect Outdoor Wall Lantern