
Painting concrete exterior floors is one of the most effective ways to improve your outdoor spaces. A fresh coat of paint can completely transform patios, porches, walkways, and driveways. Beyond aesthetics, painting adds protection against UV rays, rain, and general wear and tear.
Many homeowners underestimate the importance of surface preparation and using the correct paint. Without proper prep, peeling, bubbling, and fading are common. This guide offers a step-by-step method to achieve long-lasting, professional-quality results.
Why Paint Exterior Concrete Floors?
Painting concrete floors is both practical and visually rewarding. A properly painted floor can hide stains and imperfections while enhancing the overall appearance of your outdoor space. It also simplifies cleaning and offers design flexibility through colors, patterns, or stenciling.
Choosing to paint is often a cost-effective alternative to overlays or complete resurfacing. When combined with sealers and correct preparation, painted concrete can last for years while maintaining a fresh, attractive look.
Benefits of Painting Concrete Floors
Enhances curb appeal and aesthetics
Covers stains, cracks, and imperfections
Protects against weather and UV damage
Enables creative customization with patterns and stencils
Simplifies maintenance and cleaning
Potential Drawbacks
Paint may peel if moisture is present
Requires periodic maintenance or recoating
Can become slippery without non-slip additives
Shorter lifespan than concrete stain in certain climates
Understanding Moisture — The Biggest Enemy
Moisture is the leading cause of concrete paint failure. Concrete is porous and can absorb water from the ground or rain, which leads to bubbling, peeling, and flaking paint. Testing and controlling moisture before painting is essential.
The plastic sheet test is a simple method to detect moisture: tape a 2×2 ft plastic sheet to the surface for 24 hours. Condensation underneath indicates excessive moisture, and painting should be delayed.
Moisture Management Tips
Allow concrete to dry completely after washing
Install vapor barriers for slabs with rising groundwater
Ensure proper grading and drainage around the area
Avoid painting immediately after rain or sprinklers
Use primers designed to handle moisture
Choosing the Right Paint and Coating System
Selecting the appropriate paint ensures durability and long-term results. Not all exterior paints are suitable for concrete. Acrylic latex, epoxy, and elastomeric paints are popular options, each with unique benefits.
Acrylic latex paint is flexible, UV-resistant, and budget-friendly, making it ideal for patios. Epoxy offers high durability and chemical resistance for garages or high-traffic areas. Elastomeric coatings are flexible, crack-resistant, and weatherproof.
Additional considerations include using non-slip additives, eco-friendly low-VOC products, and choosing paints compatible with primers and sealers.
Pros & Cons by Type
Acrylic
Pros: Affordable, easy to apply, flexible
Cons: Shorter lifespan, may require recoating
Epoxy
Pros: Highly durable, chemical-resistant
Cons: Costlier, careful mixing required
Elastomeric
Pros: Excellent for cracks and weather protection
Cons: Limited color options, slightly more complex application
Tools & Materials You’ll Need
Having the right tools and materials simplifies the painting process and ensures a professional finish.
Essential Tools
Pressure washer or stiff scrub brush
Paint rollers (½–¾ inch nap) and tray
Brushes for edges and corners
Wire brush or scraper for rough spots
Painter’s tape
Safety gear: gloves, goggles, masks
Materials
Concrete cleaner or degreaser
Patch compound or crack filler
Bonding primer
Exterior concrete paint (acrylic, epoxy, or elastomeric)
Non-slip additive
Concrete sealer
Step-by-Step Surface Preparation
Surface preparation is critical for ensuring paint adhesion and long-term durability. Start by cleaning the floor thoroughly. Use a pressure washer for large areas or a stiff brush for smaller spaces. Degrease stubborn stains and rinse well. Allow the concrete to dry fully.
Repair cracks and holes using patch compounds and smooth the surface with a putty knife. Bare concrete may require etching to open pores for better paint bonding.
Surface Prep Checklist
Sweep and vacuum loose debris
Degrease oil and stain spots
Repair cracks and holes
Etch bare concrete if required
Dry completely before priming
Conduct moisture test
Priming the Concrete
Primer improves adhesion, seals porous concrete, and helps prevent peeling. Choose a bonding primer compatible with your paint. Apply thin, even coats using a roller for large areas and brushes for edges. Dry according to manufacturer instructions.
Priming enhances color uniformity and improves the longevity of your painted floor. Moisture-blocking primers are recommended for damp or shaded areas.
Primer Tips
Roll thin, even layers
Brush edges carefully
Avoid applying in direct sunlight
Allow full drying before painting
Use moisture-blocking primer in wet areas
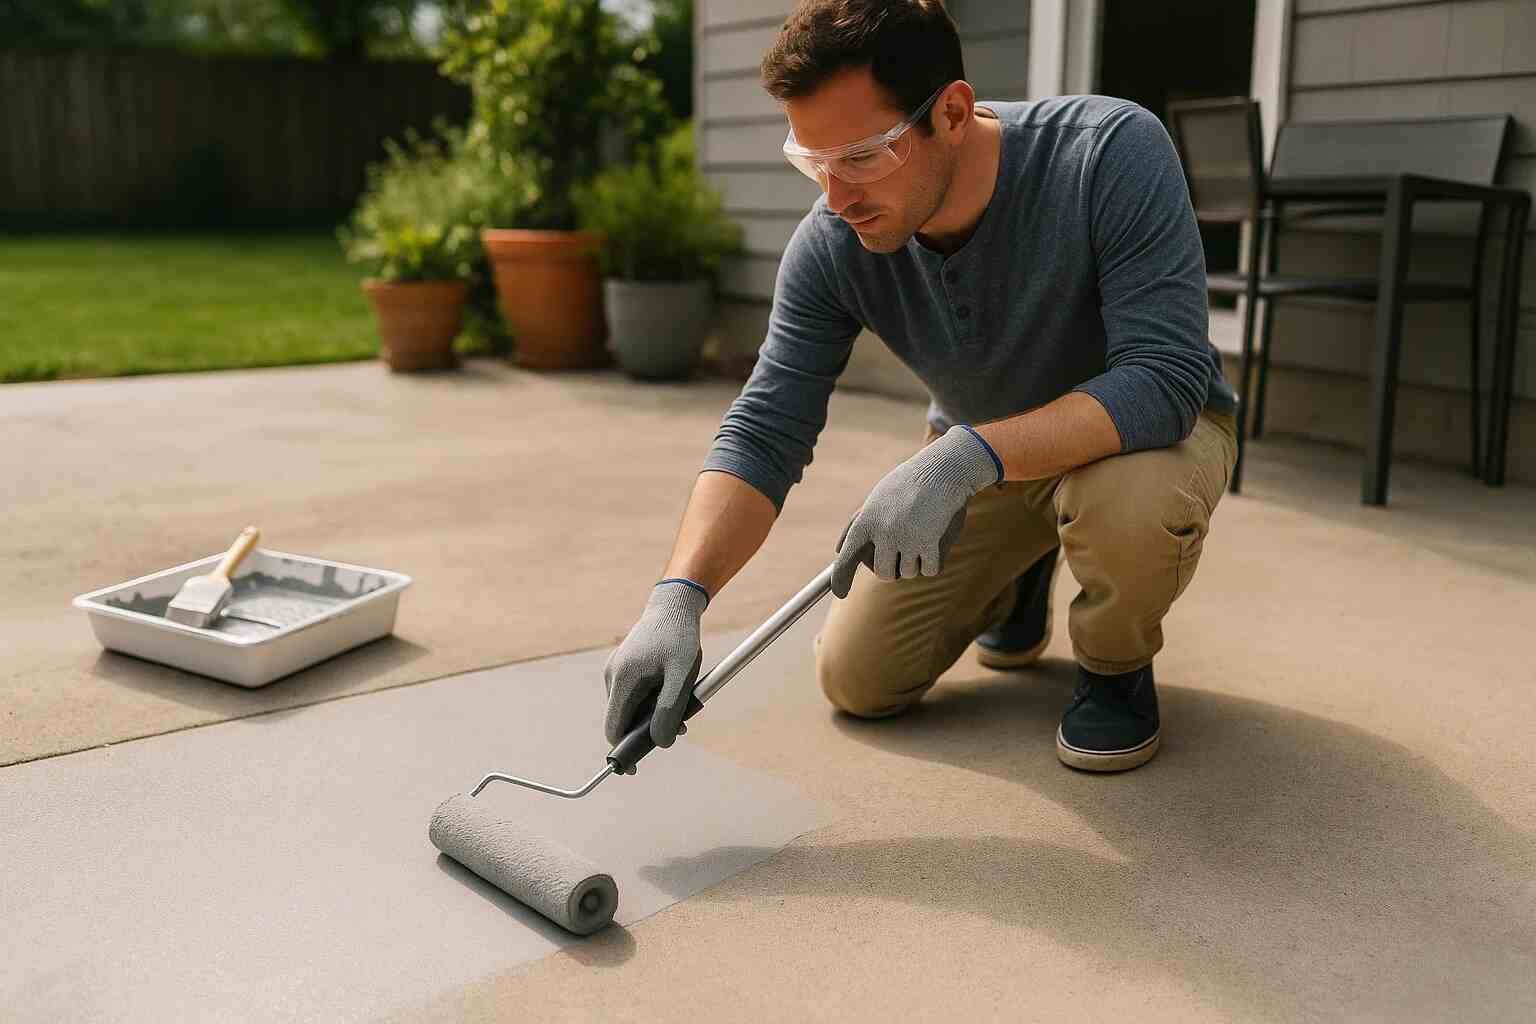
Applying the Paint
Painting requires patience and correct technique. Start by cutting in edges with a brush. Roll open areas evenly while maintaining a wet edge to avoid streaks. Apply thin coats for best adhesion. Acrylic paints usually require two coats, whereas epoxy may require one or two depending on product instructions.
Mix non-slip additives into the paint if needed for safety in wet conditions. Avoid painting during extreme heat or direct sunlight. Allow proper curing time before foot traffic.
Application Tips
Cut edges with a brush
Roll large areas evenly
Maintain wet edge to prevent lines
Apply second coat after first is dry
Add non-slip additive if desired
Let paint fully cure before use
Sealing for Longevity
Sealers protect painted concrete from wear, moisture, and UV damage. Apply only after paint is fully cured. Choose a sealer compatible with your paint type. Roll or spray evenly for best results.
Sealer Tips
Ensure paint is completely dry
Apply thin, even coats
Allow recommended curing time
Use a UV-resistant formula for sunny areas
Curing & Safety
Curing times vary by paint type. Acrylic may be touch dry in hours, fully cured in days. Epoxy may take 24–72 hours. Avoid walking or placing furniture until fully cured. Maintain proper ventilation during application, and always wear protective gear.
Maintenance & Recoating
Inspect your painted floor regularly for wear, peeling, or fading. Clean with mild detergents. Recoat when necessary to maintain appearance and protection. Proper maintenance extends the life of painted concrete significantly.
Design Ideas & Decorative Finishes
Stenciling, borders, and faux tile designs add a personalized touch to your concrete floor. Use contrasting colors or patterns for patios, walkways, or porches. Incorporate non-slip additives for safety without compromising design.
Common Problems & Troubleshooting
Peeling or bubbling usually indicates moisture issues. Scuffing can occur from heavy foot traffic or furniture. Fading happens due to UV exposure. Address issues with spot repairs, recoating, or applying protective sealers.
When to Hire a Pro vs DIY
DIY is cost-effective for small or moderate projects. Professional services are recommended for large slabs, high-moisture areas, or complex decorative finishes. Pros can also handle moisture barriers, resurfacing, and specialized coatings.
Conclusion
Painting concrete exterior floors enhances aesthetics, protects the surface, and extends durability. Proper preparation, primer, paint, sealing, and maintenance are essential for painting concrete exterior floors to achieve long-lasting, beautiful results. Careful planning and patient execution make all the difference between a temporary fix and a durable, professional-looking finish when painting concrete exterior floors.
FAQs
Can regular exterior paint work on concrete?
How long does exterior concrete paint last?
Should I prime before painting?
How can I make concrete non-slip?
Can I paint over old paint?
Also Read:
How to Choose the Perfect Outdoor Wall Lamp: A Step-by-Step Guide