
An epoxy resin concrete floor is much more than just a coat of paint. It’s a high-performance flooring solution created by combining a resin and a hardener. This chemical reaction results in a rigid, durable, and seamless surface that bonds directly to concrete. Its popularity has grown significantly for homes, businesses, and industrial spaces, thanks to its unique blend of durability, aesthetic flexibility, and long-term value.
This guide is for anyone considering an epoxy floor—from homeowners looking to upgrade their garage to business owners needing a tough, cleanable surface. By the end, you will understand the pros and cons, the different types available, and the complete installation process. You will have all the information needed to decide if an epoxy resin concrete floor is the right choice for your space.
What Is an Epoxy Resin Concrete Floor?
At its core, an epoxy floor is a two-part system consisting of a liquid resin and a chemical hardener. When mixed, they undergo a process called curing, which transforms them from a liquid into a strong, solid plastic surface. This surface is applied directly over a prepared concrete substrate, creating a powerful bond that protects the underlying concrete from wear, stains, and moisture.
The terminology can sometimes be confusing. An “epoxy coating” is typically a thinner layer applied like paint, while “epoxy flooring” refers to a thicker, multi-layer system that builds up the floor’s depth and strength. Other terms you might encounter include:
- Self-Leveling Epoxy: A popular choice that flows out to create a perfectly smooth, seamless surface, correcting minor imperfections in the concrete.
- Epoxy Mortar: A heavy-duty system mixed with sand or quartz. It is extremely impact-resistant and used for repairing damaged concrete or for floors in high-stress industrial environments.
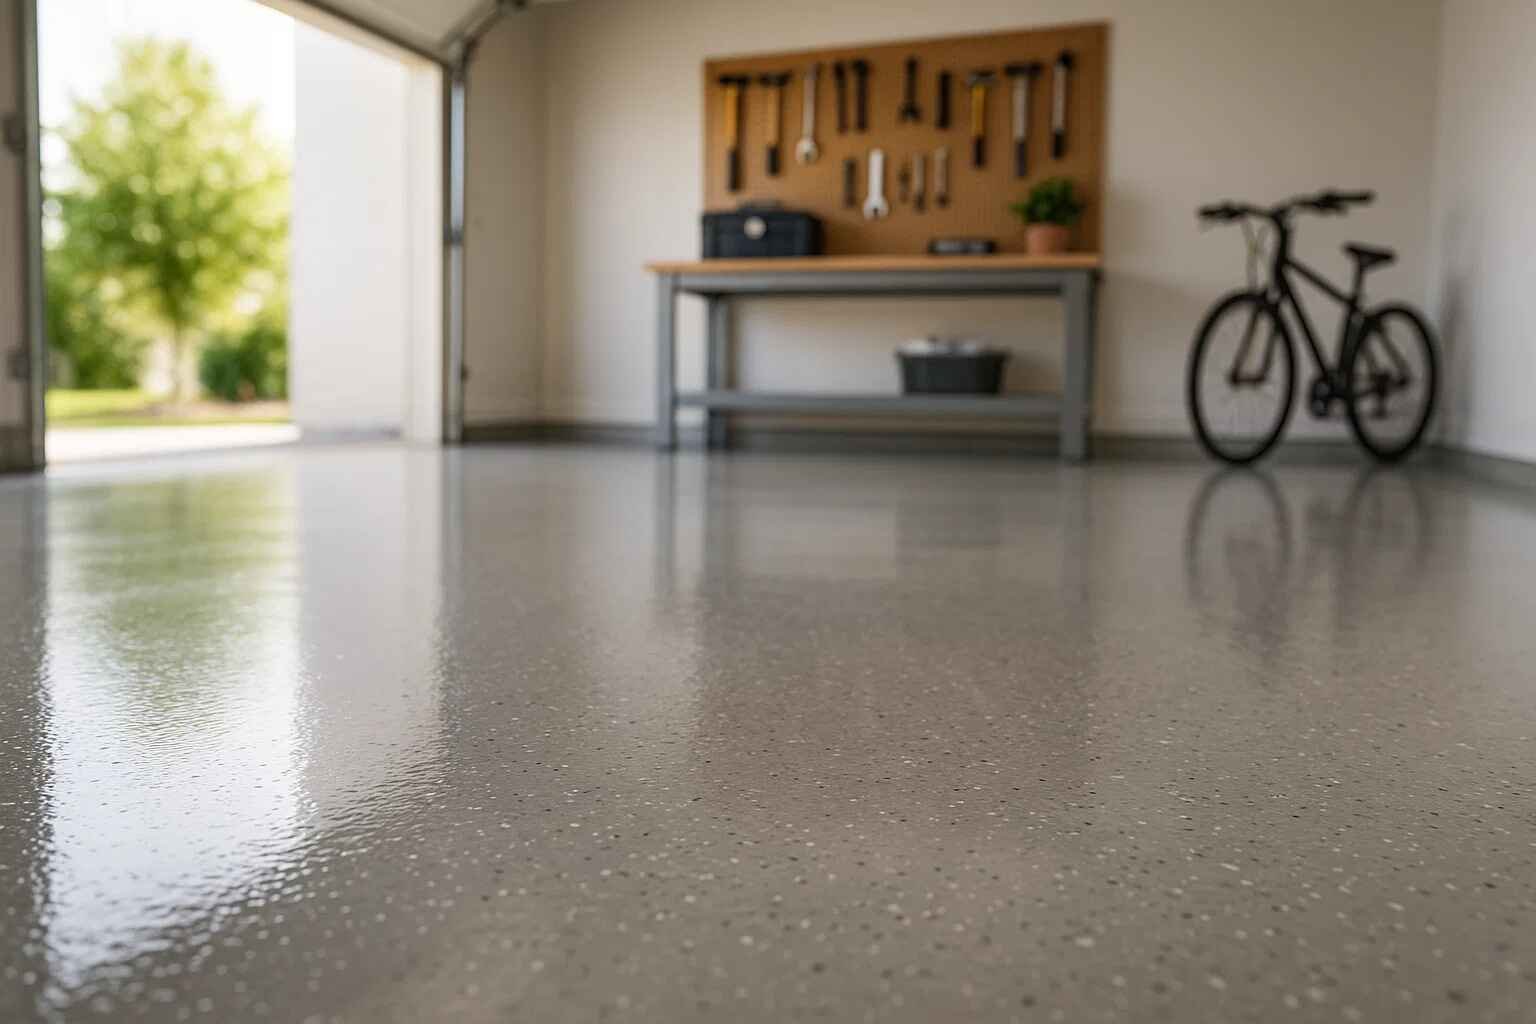
- Quartz/Aggregate-Filled Epoxy: This type includes colored quartz granules, providing a decorative, textured, and highly slip-resistant finish.
Bonding epoxy to concrete is ideal because concrete provides a stable, strong foundation. The epoxy seals the porous concrete, preventing dusting and creating a unified, resilient surface.
Types of Epoxy Flooring Systems
Choosing the right epoxy system depends entirely on your needs. Each type offers different levels of durability, finish, and cost.
- Epoxy Coating: This is the most basic system, often applied in one or two thin coats. It’s best for light-duty residential areas like basements or garages with minimal foot traffic. While it improves appearance and provides some protection, it is not as durable as thicker systems.
- Self-Leveling Epoxy: Ideal for achieving a perfectly smooth, glass-like finish. It’s applied over new or old concrete and is popular for showrooms, kitchens, and modern living spaces. Its seamless nature makes it exceptionally easy to clean.
- Epoxy Mortar/Slurry: This is the workhorse of epoxy flooring. Its thickness and aggregate content make it incredibly resistant to impact, abrasion, and heavy loads. It is the standard choice for warehouses, manufacturing plants, and auto repair shops.
- Decorative Flake or Quartz Epoxy: This system combines functionality with design. Colored vinyl flakes or quartz granules are broadcast into a wet epoxy base coat and then sealed with a clear top coat. This creates a vibrant, textured surface that is both beautiful and slip-resistant, making it perfect for retail stores, locker rooms, and high-end garages.
Benefits of Epoxy Resin Concrete Floors
Epoxy floors offer a compelling mix of performance, aesthetics, and practicality that few other flooring materials can match.
- Exceptional Durability: Epoxy creates a hard-wearing surface that resists abrasion, impact, and chemical spills. It can easily withstand heavy foot traffic, dropped tools, and vehicle loads, making it last for years.
- Seamless and Hygienic: Because it’s applied as a liquid, epoxy flooring has no seams, joints, or grout lines where dirt, bacteria, and moisture can accumulate. This makes it incredibly easy to clean and a top choice for hospitals, commercial kitchens, and labs.
- Aesthetic Flexibility: Gone are the days of boring gray floors. Epoxy is available in a vast range of colors and can be customized with decorative flakes, metallic pigments, or even custom logos. You can achieve anything from a high-gloss, showroom finish to a subtle, matte look.
- Moisture Resistance: When installed correctly with a proper vapor barrier, epoxy acts as a waterproof seal, protecting the concrete substrate from moisture damage, spills, and stains.
- Long-Term Cost-Effectiveness: While the initial installation cost can be higher than a simple coat of paint, an epoxy floor’s longevity and low maintenance needs make it a cost-effective solution over its lifespan.
Limitations and What to Watch Out For
Despite its many advantages, an epoxy floor is not foolproof. Success hinges on avoiding several common pitfalls.
- Critical Surface Preparation: This is the most important factor. If the underlying concrete is not thoroughly cleaned, degreased, and profiled (etched or ground), the epoxy will not adhere properly. This can lead to bubbling, peeling, and complete failure of the floor.
- Substrate Condition: Epoxy will not fix a failing concrete slab. Major cracks, spalling, or an uneven surface must be repaired before application. Any imperfections in the substrate are likely to show through the final finish.
- Moisture Issues: High moisture vapor transmission from the concrete slab is a leading cause of epoxy failure. A simple moisture test is essential before starting any project. If moisture levels are too high, the epoxy can delaminate or form blisters.
- Potential Slip Hazard: A high-gloss epoxy finish can become slippery when wet. For areas prone to moisture, it is crucial to include a slip-resistant additive or a textured finish.
- Installation Challenges: While DIY kits are available, achieving a professional finish can be tricky. Mixing ratios must be precise, and you only have a limited working time before the epoxy begins to harden. Temperature and humidity also play a significant role in how the epoxy cures.
Step-by-Step Installation Guide
Whether you hire a professional or tackle it yourself, the installation process follows a precise sequence.
Pre-Installation Checks and Preparation
- Inspect the Floor: Look for any cracks, chips, or areas of spalling. Note any oil stains or existing coatings that need to be removed.
- Clean and Degrease: The floor must be free of all dirt, oil, and grease. Use a powerful degreaser and scrub the surface thoroughly.
- Repair and Profile: Fill all cracks and repair any damage. To ensure proper adhesion, the concrete surface must be profiled. This is typically done by grinding the floor with a diamond grinder or etching it with an acid solution. Grinding is the preferred method for professional results.
- Test for Moisture: Tape a 2×2 foot plastic sheet to the floor on all four sides. After 24 hours, check for condensation under the sheet. If moisture is present, you may need a specialized moisture-mitigating primer.
Choosing Epoxy and Priming
- Select Your Epoxy: Choose between 100% solids, water-based, or solvent-based epoxy depending on your project’s needs and ventilation. 100% solids epoxy is the most durable but has a shorter working time.
- Apply a Primer: A primer coat is essential. It seals the porous concrete, prevents air bubbles from forming in the base coat, and dramatically improves adhesion.
Applying Epoxy Coats and Finishing
- Mix and Apply the Base Coat: Carefully mix the resin and hardener according to the manufacturer’s instructions. Pour the mixed epoxy onto the floor and spread it evenly using a squeegee and back-roll it with a roller to ensure a uniform finish.
- Add Decorative Elements (Optional): If using flakes or quartz, broadcast them onto the wet base coat.
- Apply the Top Coat: After the base coat has cured (typically 12-24 hours), apply a clear top coat. This protective layer seals in the flakes, adds gloss, and increases durability and UV resistance. For added safety, a slip-resistant aggregate can be mixed into the top coat.
- Allow for Proper Curing: The floor needs to cure completely before it can handle traffic. Light foot traffic may be possible after 24 hours, but it can take up to a week for the epoxy to reach its full chemical resistance and hardness.
Cost, Lifespan, and When to Choose Epoxy
The cost of an epoxy floor varies widely based on the system chosen, the condition of the concrete, and labor costs. A simple DIY garage floor kit might cost a few hundred dollars, while a professional, multi-layer decorative system can cost several dollars per square foot. However, considering its longevity, an epoxy floor is often more cost-effective in the long run than tile or vinyl, which require more frequent maintenance and replacement.
With proper installation and care, a residential epoxy floor can last 10-15 years, while industrial-grade systems can last 20 years or more.
Epoxy makes the most sense in:
- Garages, basements, and workshops
- Warehouses and manufacturing facilities
- Retail stores and showrooms
- Hospitals, labs, and commercial kitchens
Epoxy may not be ideal if your concrete slab is in very poor condition, has unresolved moisture issues, or if you are looking for a natural aesthetic like wood. For outdoor applications, a standard epoxy is not recommended as it can yellow and degrade under UV exposure. In these cases, a UV-stable polyaspartic top coat is required.
Epoxy vs. Alternatives
How does epoxy stack up against other popular flooring options?
- Epoxy vs. Tile: Epoxy is seamless, eliminating grout lines that can stain or harbor mold. It’s generally more impact-resistant and easier to clean. Tile offers more traditional design patterns but can crack, and grout requires regular sealing.
- Epoxy vs. Polished Concrete: Polished concrete offers a raw, industrial aesthetic but remains porous and is less resistant to chemical stains. Epoxy provides a sealed, protective layer with endless color and finish options.
- Epoxy vs. Vinyl/LVT: Luxury Vinyl Tile (LVT) can mimic wood or stone effectively. However, epoxy is far more durable under heavy loads and harsh chemicals, making it superior for garages and industrial settings. Seams in vinyl flooring can also trap dirt and moisture.
Frequently Asked Questions (FAQs)
How long does an epoxy resin concrete floor last?
With proper installation and maintenance, a residential epoxy floor can last over 10 years, while commercial-grade systems can last 20 years or longer.
Can epoxy be applied over old or damaged concrete?
Yes, but the concrete must be repaired first. Cracks should be filled and the surface must be leveled and sound before epoxy application.
Is an epoxy floor slippery when wet?
A high-gloss finish can be slippery. To improve safety, a slip-resistant aggregate can be added to the final top coat to create a textured surface.
Can I install epoxy flooring myself or should I hire a professional?
DIY kits are available for smaller projects like a single-car garage. However, for large areas or if you want a decorative finish, hiring a professional is recommended to ensure proper surface preparation and a flawless result.
How much does epoxy flooring cost per square foot?
Costs can range from as little as $3 per square foot for a basic DIY installation to over $12 per square foot for a professional, multi-layer decorative system.
How do I clean and maintain an epoxy floor?
Clean-up is simple. Use a dust mop for regular cleaning and a pH-neutral cleaner with a microfiber mop for deeper cleans. Avoid acidic cleaners or harsh detergents that can dull the finish.
Conclusion
An epoxy resin concrete floor is a powerful, versatile, and stylish flooring solution. It transforms ordinary concrete into a surface that is not only tough and long-lasting but also beautiful and easy to maintain. Its benefits in durability, hygiene, and design make it a superior choice for a wide range of applications, from home garages to demanding industrial environments.
The key to a successful, long-lasting epoxy floor is meticulous preparation and correct installation. By understanding the process and assessing your specific needs, you can decide whether to tackle the project yourself or bring in professionals. Either way, a well-installed epoxy floor is an investment that provides exceptional value and performance for many years to come.
Also Read:
The Ultimate Guide to Roof Tiles: Types, Benefits, and Installation Tips
The Ultimate Guide to Roof Tiles: Types, Benefits, and Installation Tips