
Introduction
Tiles are a timeless choice for finishing surfaces in homes and commercial spaces. From floors to walls and backsplashes, they offer durability, style, and versatility. With so many materials, colors, and patterns available, selecting the right tiles can feel overwhelming. This guide will walk you through everything you need to know, helping you choose the perfect tiles to transform your space, ensure longevity, and match your unique aesthetic. We will explore different types, benefits, installation tips, and maintenance advice to make your project a success.
Understanding the Different Types of Tiles
Choosing the right material is the first step in any tiling project. The type of tile you select will impact the look, feel, and durability of your space. Each material has unique properties suited for different applications.
Ceramic and Porcelain Tiles
Ceramic tiles are a popular and affordable option made from clay and other natural materials. They are great for walls and low-traffic floor areas. Porcelain is a denser, less porous type of ceramic, making it ideal for high-traffic zones and outdoor use due to its superior water and stain resistance.
Natural Stone Tiles
For a touch of luxury, consider natural stone tiles like marble, granite, or slate. Each piece is unique, offering an exclusive look. While beautiful, stone tiles require more maintenance and sealing to protect them from stains and moisture.
Key Benefits of Using Tiles in Your Home
Tiles are more than just a pretty surface; they offer practical advantages that make them a smart investment. Their functional benefits contribute to a cleaner, healthier, and more resilient home environment.
One of the biggest advantages is durability. High-quality tiles, especially porcelain and certain stone types, can withstand heavy foot traffic for decades without showing wear. They are also incredibly easy to clean. A simple sweep and mop are usually all that’s needed to keep them looking new, making them perfect for kitchens and bathrooms.
How to Select the Right Tiles for Each Room
The function of a room should guide your tile selection. A bathroom requires tiles with excellent water resistance and good grip to prevent slips, while a living room can accommodate a wider range of materials.
Consider these factors for different spaces:
- Bathrooms: Porcelain or glazed ceramic tiles are perfect for walls and floors. For shower areas, smaller tiles with more grout lines can provide better traction.
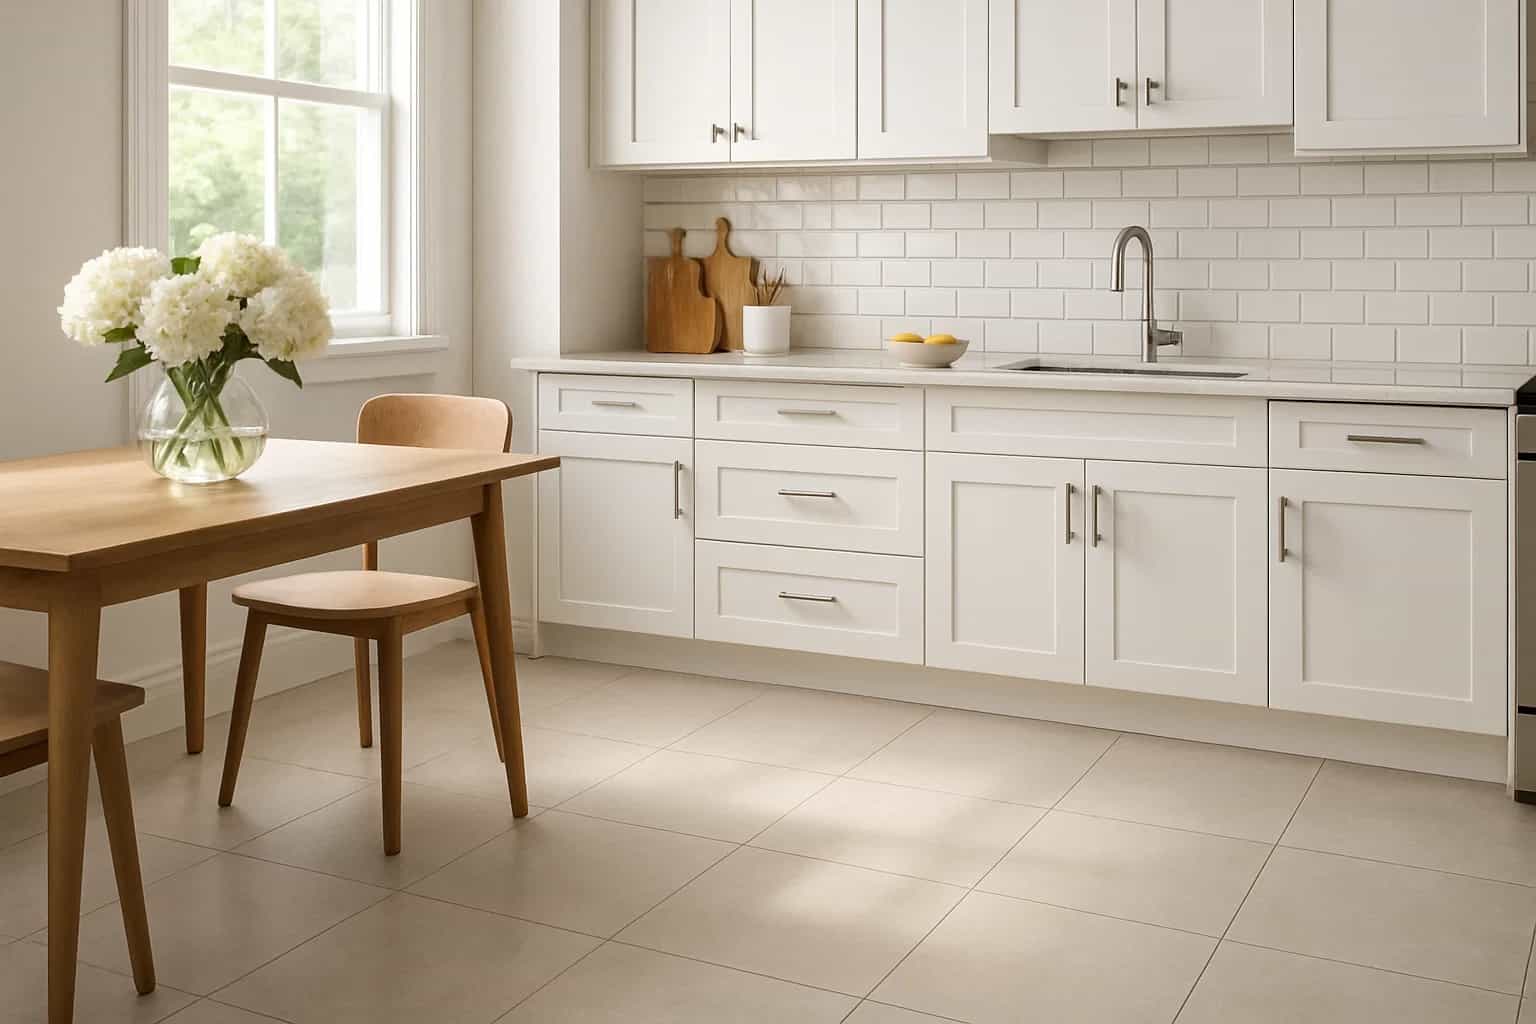
- Kitchens: You need durable and stain-resistant tiles for floors and backsplashes. Porcelain and sealed natural stone are excellent choices that can handle spills and constant use.
- Living Areas: Your options are broad here. Large-format tiles can make a space feel bigger, while wood-look tiles offer the warmth of hardwood with the durability of ceramic.
The Importance of Tile Size and Pattern
The size and layout of your tiles dramatically affect the overall perception of a room. Large-format tiles are trending because they have fewer grout lines, creating a clean and expansive look. They can make small rooms appear larger and more open.
Smaller tiles, like mosaics or subway tiles, are perfect for creating intricate patterns and focal points. You can use them for backsplashes or decorative borders. The pattern you choose—from a simple grid to a complex herringbone—adds another layer of personality to your design.
Preparing Your Surface for Tile Installation
Proper surface preparation is critical for a successful and long-lasting tile installation. An unprepared surface can lead to cracked tiles, loose grout, and other issues down the line. The goal is to create a flat, stable, and clean base.
First, ensure the subfloor or wall is completely level. Use a self-leveling compound for uneven concrete floors. For walls, make sure the backer board is securely fastened. The surface must be clean and free of dust, grease, or debris that could interfere with the adhesive.
A Step-by-Step Guide to Installing Tiles
While hiring a professional is often recommended, installing tiles can be a rewarding DIY project if you’re detail-oriented. Start by laying out your tiles in a dry run to finalize the pattern and check for any cuts you’ll need to make.
Next, mix your thin-set mortar or adhesive according to the manufacturer’s instructions. Apply it to a small section of the surface using a notched trowel. Firmly press each tile into the adhesive with a slight twisting motion. Use tile spacers to ensure consistent grout lines. Let the adhesive cure completely before moving on to the next step.
Grouting and Sealing Your New Tiles
Grouting fills the gaps between tiles, locking them in place and preventing moisture from getting underneath. After the tile adhesive has fully cured, remove the spacers and apply grout using a grout float, pressing it into the joints at a 45-degree angle.
Once the grout has been applied, wipe away the excess from the tile surfaces with a damp sponge. After the grout has cured (usually 24-72 hours), you may need to apply a sealant. Sealing is especially important for natural stone tiles and cement-based grout to protect against stains and water damage.
Maintaining and Cleaning Your Tiles
One of the best features of tiles is their low maintenance. For routine cleaning, sweeping or vacuuming to remove loose dirt is sufficient. Follow this with a mop using a pH-neutral cleaner and warm water.
Avoid using harsh chemicals like bleach or ammonia, as they can damage the grout or the tile surface itself. For tough stains, a specialized tile cleaner may be needed. Regularly checking and repairing any cracked grout will help maintain the integrity of your tiled surface for years to come.
Conclusion
Choosing the right tiles involves balancing aesthetics, function, and budget. From durable porcelain for a busy kitchen to elegant marble for a luxurious bathroom, the options are vast. By understanding the different materials, preparing your surfaces correctly, and following proper installation and maintenance procedures, you can create a beautiful and lasting finish in any room. Your new tiles will not only enhance your home’s appearance but also provide a practical and resilient surface that stands the test of time.
Ready to start your project? Explore our wide selection of tiles or check out our installation guides for more expert tips. Feel free to leave a comment below with any questions!
Frequently Asked Questions
What is the most durable type of tile?
Porcelain tiles are widely considered the most durable due to their dense composition and resistance to water, stains, and scratches. They are an excellent choice for high-traffic areas.
Can I install tiles over an existing floor?
In some cases, yes, you can tile over existing surfaces like vinyl or even old tile. However, the existing floor must be level, in good condition, and properly prepared to ensure good adhesion.
How do I choose the right grout color?
Choosing a grout color that matches the tile will create a seamless, uniform look. A contrasting color will highlight the tile pattern and make the individual tiles stand out more.
Commercial Interior Design: Transform Your Workspace with Style