
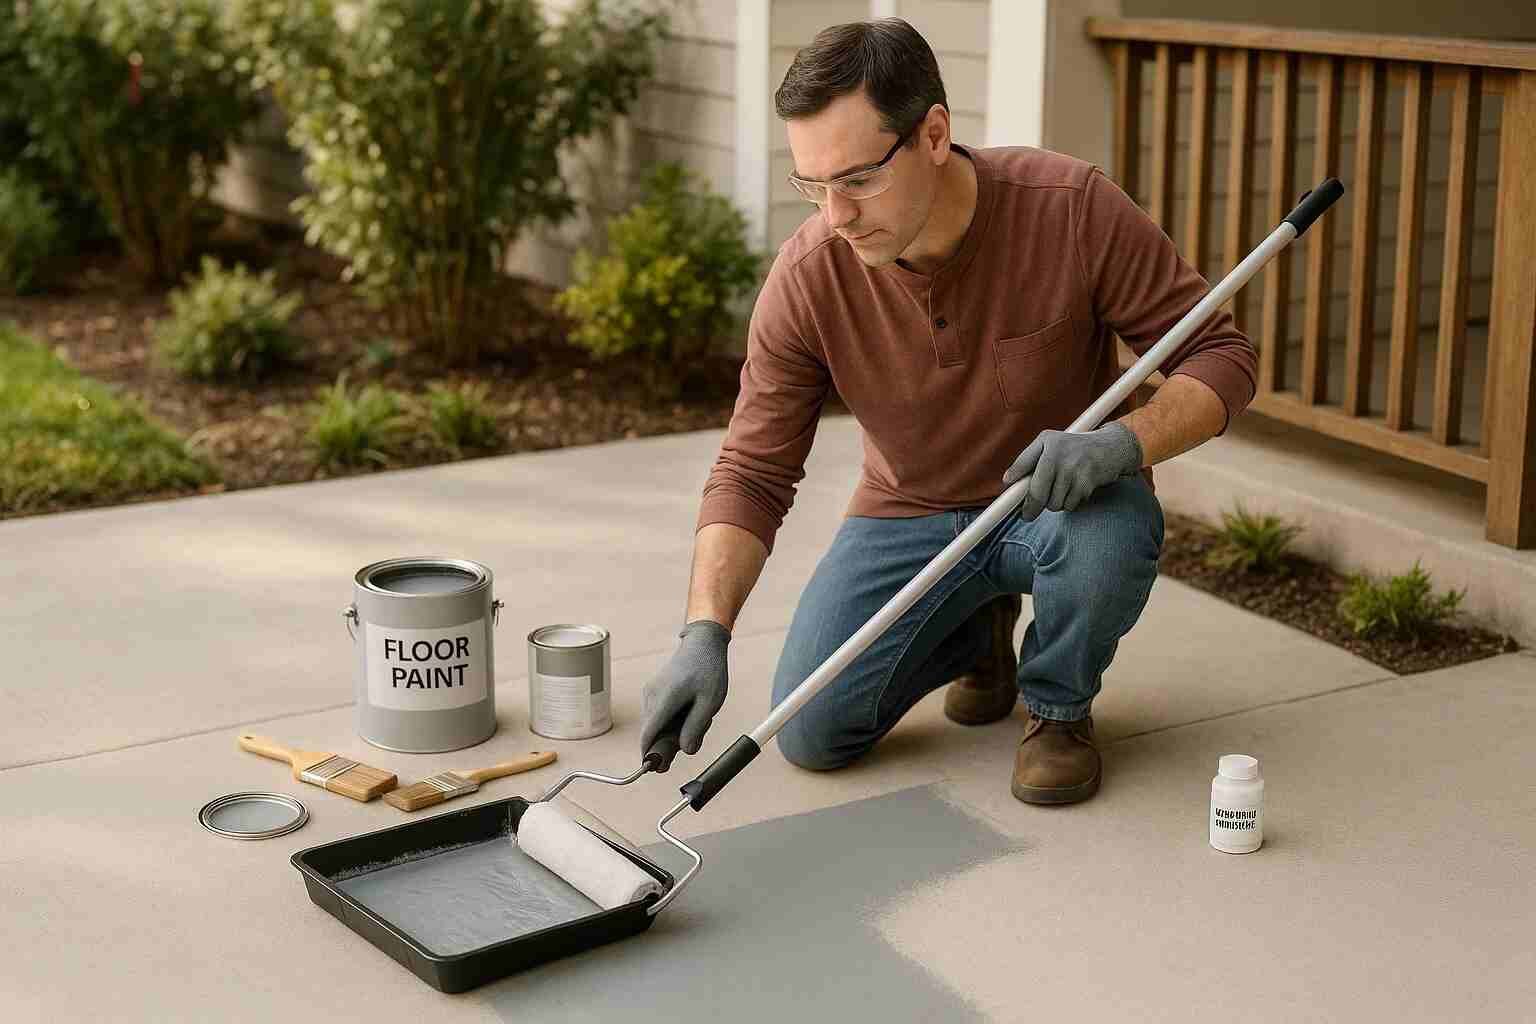
Painting exterior concrete looks simple at first—choose a color, grab a roller, and go. But the decision to paint concrete floor exterior, seal, or stain depends heavily on the condition of your concrete and the look you want. For many homeowners, painting is the fastest way to refresh a porch, patio, or walkway. It offers strong coverage, hides imperfections, and gives you full control over color. If you want a clean, uniform, modern finish, painting your concrete floor exterior is the right choice.
Painting works best when you want:
Strong color coverage
A smooth, modern appearance
A solution that hides imperfections
But paint isn’t always the ideal solution. Stains and sealers behave differently. A stain sinks into the concrete, giving a natural, variegated look while reducing the chance of peeling. A sealer enhances the concrete’s appearance while protecting it from weather without altering its natural texture. These options work better for surfaces with moisture issues or concrete that has previously shown signs of peeling.
Painting exterior concrete shines when you want bold color, better protection from UV, or a fresh look for aging surfaces. However, if your concrete is frequently wet, if it’s new and still curing, or if you prefer a more natural appearance, staining or sealing may be the safer, longer-lasting option. Before committing, evaluate the surface, climate, and traffic level to choose the option that fits your needs and expectations.
Choose the Right Coating for Porches, Patios, Garages & Driveways
Not all paints and coatings perform the same. The best choice depends on where the concrete is located and how much wear it receives. For porches and patios, acrylic latex porch & patio paint is the most reliable option. It’s formulated to handle foot traffic, UV exposure, and mild weather while offering a smooth, attractive finish. It’s easy to apply, dries quickly, and works well on most exterior floors.
Best coating by area:
Porches & patios → Acrylic latex porch & patio paint
Garages → Epoxy or polyurea coating
Driveways with cracks → Elastomeric coating
If your project involves a garage floor or another high-traffic area, you’ll want something stronger. Two-part epoxy or polyurea coatings offer higher chemical resistance, withstand hot-tire pickup, and hold up under heavy vehicles. Although they require more prep and have stricter application temperatures, they deliver exceptional durability and a long lifespan. These coatings are popular among DIYers upgrading garage spaces or creating multipurpose outdoor work areas.
For concrete surfaces with cracks or slight movement, elastomeric coatings can help bridge imperfections. They provide a flexible, weather-resistant membrane that moves with the substrate. Driveways exposed to intense sunlight, rain, and expansion may benefit from this type of coating. When selecting any product, consider the climate—UV intensity, freeze-thaw cycles, and humidity all affect durability. Matching product type to surface ensures your paint lasts years instead of months.
Tools & Materials Checklist (What to Buy and Why)
Before you start painting a concrete floor exterior, gathering the right tools will save you time and avoid mistakes. For cleaning and prep, you’ll need a pressure washer, degreaser, and concrete cleaner to remove dirt, algae, and old residues. A wire brush helps you scrub stubborn spots, while a concrete patch compound repairs cracks or chips. If your concrete is smooth or sealed, consider a concrete etcher to improve adhesion.
Essential tools you will need:
Pressure washer
Concrete cleaner & degreaser
Wire brush
Concrete patch compound
Concrete etcher (if surface is smooth)
For painting, the essentials include a concrete bonding primer, which helps the coating cling to the surface. Choose a porch and patio floor paint, masonry paint, or exterior epoxy, depending on your project. A ¾-inch nap roller works well for textured surfaces, while a shorter nap is better for smoother slabs. Extension poles make large areas easier to cover.
Additional items can improve results and safety. A non-slip additive reduces the chance of slipping when the surface is wet. A paint tray, angled brush for edges, drop cloths, and painter’s tape keep your workspace clean and professional. Wear PPE—gloves, safety glasses, and a mask—especially when using cleaners or etchers. Having everything ready before you start makes the entire process smoother and ensures a durable, even finish.
Surface Prep — The 7 Critical Steps (Day-by-Day Workflow)
Prepping the concrete is the most important part of the entire project. Without a clean, dry, properly etched surface, even the best paints will peel. Start by clearing the area and sweeping thoroughly to remove loose dirt and debris. Use a pressure washer to blast away stains, mildew, and old peeling paint. Follow up with a degreaser on areas with oil or residue. Let the concrete dry completely before the next step.
Next, etching the concrete opens up its pores and improves adhesion. Use a concrete etcher or acid-based solution (if appropriate) to lightly roughen the surface. Rinse well and allow it to dry. If cracks or pits appear, fill them using a concrete patch product. Smooth the patched areas and give them time to cure. A uniform surface ensures consistent absorption and a clean final look.
Once repairs are done, perform a moisture test by taping a square of plastic to the surface for 24 hours. If condensation forms, the concrete may be too damp for paint. Finally, apply a concrete bonding primer to lock in dust and create a stable base. Each step builds on the last, creating a smooth, trouble-free surface that holds paint longer and resists peeling, blistering, and hot-tire pickup issues.
Priming: When & Which Primer to Use
Priming is often overlooked, but it plays a crucial role in how well the paint bonds to exterior concrete. A concrete bonding primer creates a strong link between the paint and the surface, helping to prevent peeling and early wear. It also helps seal minor imperfections and reduces the amount of paint needed. If your surface is previously painted, glossy, or has spot repairs, priming becomes even more essential.
Bonding primers work best for smoother surfaces or concrete that was previously sealed. They grip the paint and stabilize the substrate, especially in high-traffic areas like porches and walkways. For rough surfaces, a standard masonry primer can work, but a bonding primer provides better insurance. The key is to apply a thin, even coat and allow it to dry fully before adding paint.
Certain situations call for specialty primers. If you see efflorescence—the white powdery residue on concrete—it’s best to treat it with a cleaner and then use a stain-blocking primer designed for masonry. If the surface has moisture issues, choose a primer labeled as breathable to prevent trapped moisture from causing blistering. Proper priming ensures your finish looks professional and lasts through weather, foot traffic, and seasonal changes.
Application: Paint Techniques for an Even, Durable Finish
Applying paint to an exterior concrete floor requires steady technique and awareness of weather conditions. Start by cutting in the edges with an angled brush. Use long, smooth strokes to avoid buildup near walls or posts. Once edges are complete, switch to a roller with an appropriate nap length for your surface texture. Work in small sections, maintaining a wet edge to avoid visible lines or lap marks.
Weather plays a major role in paint performance. Aim for temperatures between 50°F and 85°F with low humidity. Avoid direct sunlight, which can cause the paint to dry too fast and form a weak bond. Early morning or late afternoon is typically the best time to paint. Apply the first coat evenly and allow it to dry according to the manufacturer’s directions—usually 4 to 8 hours.
A second coat is essential for durability and richer color. For epoxy systems, follow the mixing and timing instructions precisely, as working time is limited. Avoid walking on the surface for at least 24 hours and keep heavy furniture or vehicles off the painted concrete for several days. Proper application ensures a smooth, long-lasting surface that resists peeling, staining, and weather damage.
Non-Slip Options & Safety Finishes
Exterior concrete floors can become slippery when wet, especially after painting. Adding a non-slip additive to the paint helps improve traction. These additives come in fine, medium, and coarse textures. Mix them directly into the final coat of paint to create a textured, slip-resistant surface. This is especially useful for porches, pool decks, and walkways where moisture is common.
Another option is applying a textured topcoat after painting. These coatings contain grit or microbeads that add traction without altering the finish dramatically. They’re easy to apply with a roller, and many are compatible with both latex and epoxy paints. Choose a non-slip option that matches the location—fine texture is good for porches, while medium texture is suited for driveways or high-use walkways.
In high-risk areas, you can also use paint-on treads or slip-resistant strips designed specifically for outdoor use. These provide targeted grip on stairs, entryways, or sloped surfaces. No matter which method you choose, test the grip after drying. Adequate traction not only enhances safety but also extends the lifespan of the coating by reducing scuffing and wear in slippery areas.
Troubleshooting & Repairs (Peeling, Blistering, Efflorescence, Hot-Tire Pickup)
Even well-painted concrete can develop issues over time. Peeling paint is often caused by poor surface prep or moisture trapped under the coating. If you see peeling, scrape away loose material and sand the edges smooth. Clean the area thoroughly and apply a bonding primer before repainting. For large sections, it may be necessary to strip the paint and start over.
Blistering occurs when paint dries too quickly or moisture rises from below the surface. To fix this, remove blistered areas and ensure the concrete fully dries. Correct moisture issues by improving drainage or sealing cracks. Efflorescence, the white powdery residue, indicates moisture moving through concrete. Clean with a masonry cleaner, rinse, and use a primer designed to block mineral deposits.
For garage floors, hot-tire pickup is a common issue. It happens when hot tires soften and lift poorly bonded paint. If you’re dealing with this, switch to a stronger epoxy or polyurea coating. Spot repairs are possible, but long-term durability requires a more robust coating. Addressing problems early helps maintain the appearance and longevity of your painted concrete floor.
Maintenance Schedule & How Long Painted Concrete Lasts
A well-painted exterior concrete floor can last anywhere from 2 to 5 years with porch and patio paint, and up to 10 years with epoxy or polyurea coatings. Lifespan depends on UV exposure, weather, foot traffic, and surface preparation. To maintain the finish, clean the surface regularly with mild soap and water. Avoid harsh chemicals that degrade the coating.
Seasonal checks help prevent major damage. Look for cracks, peeling, or worn spots. Touch up minor issues before they spread. If you used a sealer over the paint, reapply it every 1 to 2 years to protect the surface from moisture. In heavily trafficked areas like entryways or outdoor kitchens, additional touch-ups may be needed to keep the paint looking fresh.
During winter or rainy seasons, avoid dragging heavy objects across the painted surface, as this can scratch the coating. A little maintenance goes a long way in extending the life of your painted exterior concrete floor. By following a simple cleaning schedule and performing small repairs, you can enjoy a durable, attractive finish for years.
Cost & Time Estimate (DIY vs Pro)
Painting an exterior concrete floor is generally affordable compared to other renovation projects. DIY costs usually fall between $1 to $2 per square foot, including paint, primer, and prep materials. Epoxy or polyurea coatings cost more—typically $3 to $6 per square foot—but offer far greater durability and long-term value. Tools like pressure washers or sprayers can be rented to reduce expenses.
The project timeline depends on prep work, weather, and drying times. Expect at least 2 to 3 days for cleaning, drying, and etching. Painting and curing take another 1 to 3 days, depending on product type and climate. Epoxy systems often require longer curing periods before heavy use. Plan your project during a dry, mild weather window for best results.
Hiring a professional increases the cost but ensures high-quality prep and application. Labor rates vary, but most pros charge $4 to $10 per square foot depending on coating type and complexity. DIY offers major savings, but professional application delivers a flawless, long-lasting finish—especially for garages, driveways, or large outdoor areas.
Best Products (2025 Picks)
Choosing the right paint ensures durability, color quality, and weather resistance.
Best Overall:
Behr Porch & Patio Floor Paint – Durable, UV-resistant, great for porches, patios, and walkways.
Best for Garages:
Rust-Oleum RockSolid Epoxy – High performance, withstands chemicals, vehicles, and hot-tire pickup.
Best Budget Option:
KILZ Porch & Patio Floor Paint – Affordable and reliable for light-traffic outdoor floors.
Best Non-Slip:
Rust-Oleum Non-Skid Additive – Easy to mix into your paint for added traction.
Each of these products is widely available, DIY-friendly, and tested for outdoor conditions. Matching the right paint to your surface ensures long-lasting results.
FAQ (Frequently Asked Questions)
1. Can I paint my exterior concrete patio or porch?
Yes. With proper prep and the right paint, exterior concrete surfaces can be painted effectively.
2. What is the best paint for an outdoor concrete floor?
Acrylic latex porch & patio paint is ideal for general use; epoxy is best for high-traffic areas.
3. Do I need to prime concrete before painting?
Yes. Priming improves adhesion and helps prevent peeling.
4. How long does painted concrete last outdoors?
Porch paint lasts 2–5 years; epoxy coatings can last 7–10 years or more.
5. Why does painted concrete peel, and how can I stop it?
Peeling is usually caused by poor prep or moisture. Proper cleaning, etching, and priming prevent it.
6. Is epoxy or acrylic better for exterior concrete?
Acrylic is easier to apply and great for porches; epoxy offers higher durability for garages and heavy use.
Conclusion
Painting an exterior concrete floor is one of the fastest and most effective ways to upgrade outdoor spaces like porches, patios, walkways, and garages. With the right prep, products, and technique, the results can last for years while adding color, protection, and curb appeal. Start by deciding whether paint is the right choice compared to sealing or staining. Then select the best coating for your surface—acrylic for light use, epoxy for heavy use, and elastomeric for cracked areas.
By following the step-by-step workflow—cleaning, etching, repairing, priming, and applying two coats—you create a durable finish that stands up to weather, foot traffic, and everyday wear. Adding non-slip additives improves safety, especially on wet surfaces, while a seasonal maintenance routine keeps the paint looking new. Whether you DIY or hire a pro, painting a concrete floor exterior is a practical, budget-friendly project that transforms your outdoor living areas.
Also Read:
Catholic Outdoor Wall Fountains: A Guide to Sacred Garden Beauty
Catholic Outdoor Wall Fountains: A Guide to Sacred Garden Beauty